Conference Lanyards and Badges: A Planning Checklist for Coordinators
A planning checklist for conference lanyards and name badges: headcount, badge size and finish, role colors, personalization and an on-time timeline.
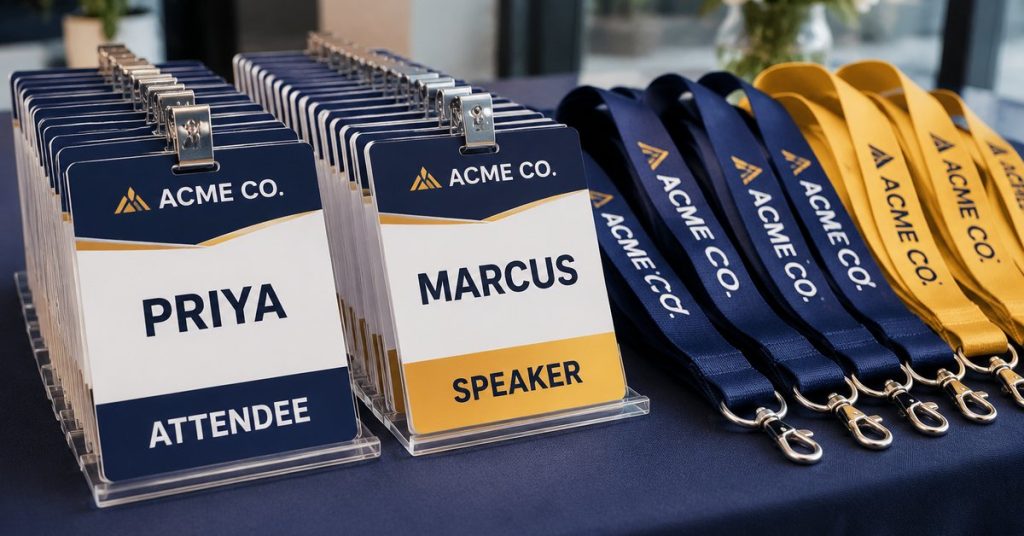
Quick answer: Plan badges first and lanyards second. Lock your headcount and roles, pick a badge size and finish, choose lanyard colors for each role, and send a clean name list. Approve the proof about three weeks before the event, or use rush ($30) if you’re closer.
Step 1: Count and sort attendees
- Total attendees, plus a few spares (say 5–10 percent) for walk-ins
- Roles: attendee, speaker, staff, sponsor, VIP, press
- Who needs a printed name and who gets a blank fill-in badge
Step 2: Choose the badge
- Size: 2.12 x 3.38 in (compact) or 3.15 x 4.72 in (easy to read across a room)
- Finish: glossy, matte (less glare under stage lights) or frosted
- Orientation: vertical or horizontal
Shop PVC ID cards and read our PVC ID cards ordering guide.
Step 3: Design for quick reading
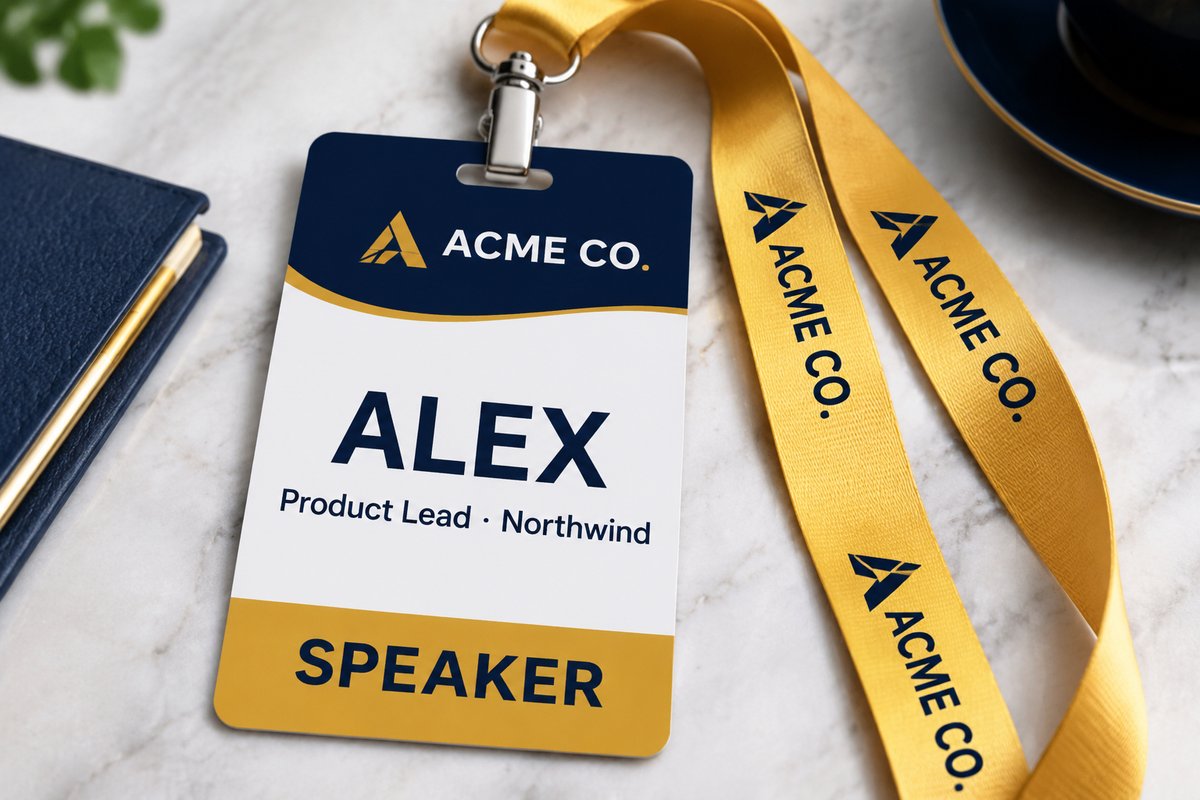
- First name biggest. People use first names in conversation.
- Company and title smaller underneath.
- Role in a color band across the top or bottom.
- Event name and logo small. Everyone already knows which event they’re at.
Bring Your Ideas to Life
Create custom lanyards & pvc id for your next event, promotion or organization. No minimum order on most products.
Shop Lanyards & PVC ID →Step 4: Choose lanyards by role
Use a different lanyard color for each role so staff can spot speakers or VIPs at a glance.
Example: A 400-person conference uses navy lanyards for attendees, gold for speakers and white for staff. Security checks backstage access by lanyard color alone.
See custom lanyards. How the badge attaches is confirmed on your proof; our guide to lanyard attachment types explains the common options, and custom lanyards for trade shows covers width and badge fit.
Step 5: Prepare the name list
- One row per person: first name, last name, company, title, role
- Check spelling against registration data
- Freeze the list on a set date; give late registrations blank badges
Step 6: Timeline
- 4–5 weeks before: finalize design and roles.
- About 3 weeks before: send the final name list and approve the free proof.
- Production and shipping: 3–5 business days + 5–7 business days (free standard shipping).
- Short on time: rush ($30) is 1–3 + 3–5 business days.
- Day of delivery: open and check every badge. Report valid issues within 24 hours for a free remake (we don’t offer refunds).
For counting back from your date, see our ordering timeline guide.
Step 7: On-site
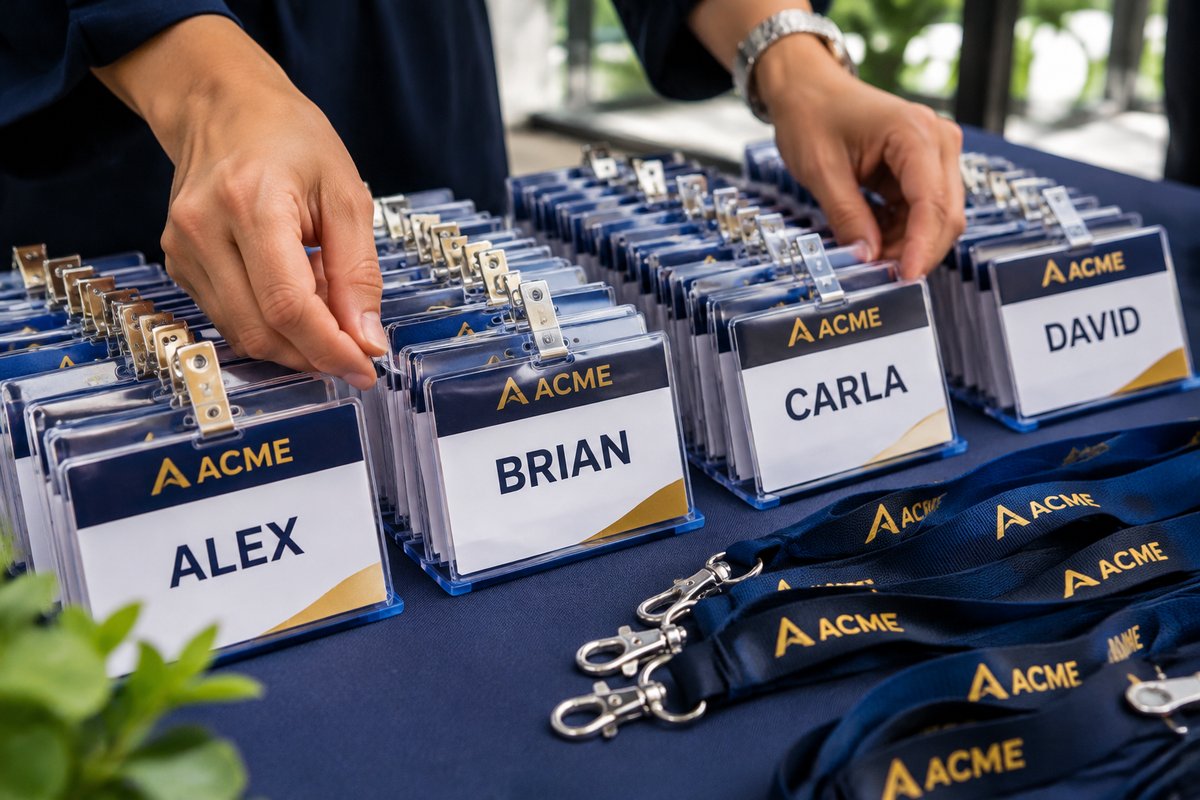
- Sort badges alphabetically by last name.
- Keep blank badges and markers for walk-ins.
- Put spare lanyards at the registration desk.
Frequently asked questions
What size badge is best for conferences?
3.15 x 4.72 in is easier to read across a room; 2.12 x 3.38 in is more compact.
Should lanyard colors show roles?
Yes, if you can. Color-coding makes speakers, staff and VIPs easy to find.
How early should I order?
About three weeks before on standard timing, or with rush ($30) if you’re closer.
Is there a minimum order?
Most PrintVow products have no minimum.
What if something is wrong when it arrives?
Report a valid issue within 24 hours of delivery and we’ll remake the order free. We don’t offer refunds.
Get a free badge and lanyard proof
Send your event date, headcount, roles and logo, and we’ll make a free design proof.
- Email: hello@printvow.com
- Phone: +1 307-430-1110
- Shop: printvow.com/shop